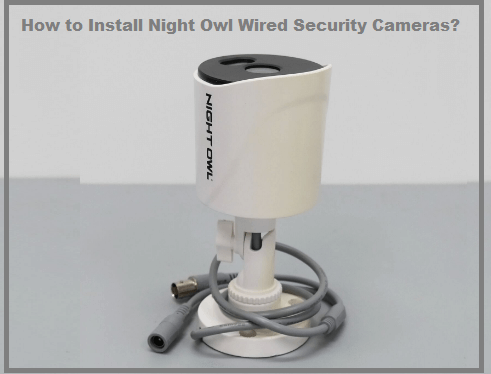
The night owl wired security camera package offers easy installation; you can control the Night Owl wired security camera locally via the included remote or USB mouse.
How to Install Night Owl Wired Security Cameras?
Here are the steps you can follow to view the live feed:
1. Connect Night Owl DVR to TV or Monitor
Before installing the night owl wired security camera, ensure your TV or monitor has a VGA or HDMI connection input. Connect your TV or monitor to the same connector on the DVR using a VGA or HDMI cable.
Then, gently connect the other end of the cable to the VGA or HDMI input on your TV or monitor. The VGA cable is not included in the package and must be purchased separately.
2. Connect a USB mouse
Connect the provided USB mouse to the DVR while connecting it to the USB port on the rear or front of the DVR. This makes it easy to switch between on-screen menus while in use.
The DVR’s default output mode is HDMI/VGA. If you connect a BNC monitor, you may need to use the remote control for the system to function effectively. In this case, press the SEL key twice and then the 0 key to change the output to BNC.
3. Establishing a connection between a security camera and a DVR
First, find the 60-inch video extension in the package. T60-inch out for DC power that sports the same color as your cable.
Gently connect a yellow BNC connector cable (for camera video output) and a red male connector cable (for power) to each security camera.
When finished, connect the other end of the BNC cable (tagged To DVR Only) to the video input port provided on the back of the DVR.
4. Power on DVRs, security cameras, and monitors
After completing the process mentioned above, carefully connect the abovementioned processes’ extension cable through the 4-way power splitter provided in the kit.
Connect one end of the same splitter to the camera’s power supply. Then connect the camera power supply to create a connection with the power socket.
For a DVR, connect the power connector to an available port on the panel of the DVR. When finished, connect the DVR power supply to a wall socket or surge protector. While doing so, make sure your TV or monitor is powered on.
You should now see the Night Owl logo and a live feed or startup wizard on your TV screen. Your security camera is ready to use.
Frequently Asked Questions
What’s the best way to mount a night owl-wired security camera?
During the startup wizard, you will be prompted to adjust the motion detection area for each installed camera. Therefore, the camera must be installed in its final location by then. Set the camera at least 7 feet above the ground point, slightly down.
Infrared sensors work best when moved left or right across the camera’s field of view, as opposed to moving directly into or away from instead of
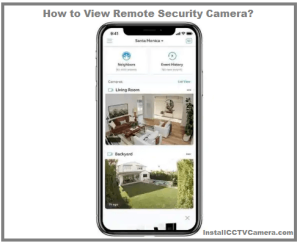
Can I see Night Owl cameras everywhere?
Yes, Night Owl is the best free remote-viewing security camera! All you need to do is connect your device to you only need toad a compatible app or CMS. This gives customers convenient, 24/7 access to security via their smart device or computer, no matter where they travel.
What is the range of the Night Owl camera?
The camera uses AC power and can be plugged into a wall outlet, providing a wireless range of up to 300 feet. The camera features two-way audio and enhanced night vision so that you can see and hear everything within range.